So, you want to setup your blog?
TLDR; if you just want to take notes, stick to hackmd.io. If you want to setup your personal website without the hassles of setting up the website skip to last section. If you have the time to read how I started this website, read on…
Genesis
I enjoy documenting my work. That was reason enough to start all this.
Wordpress as a blog/CMS was suggested by some friends, but I never liked that platform. Something about it felt dishonest; like it was made for and designed by people who use Windows. Wanting to avoid the pains of self-hosting and writing good CSS, I started writing rather elaborate jupyter(alias ipython) notebooks, replete with Markdown, Mathjax, images and GIFs.
Notebooks were my 2nd choice. I would have preferred writing Markdown files and publishing them with the repo but Github does not let you render Latex or Mathjax. There are hacks which process your Mathjax/Latex and render SVGs which you can then link as images to your MD file. But those were clunky.
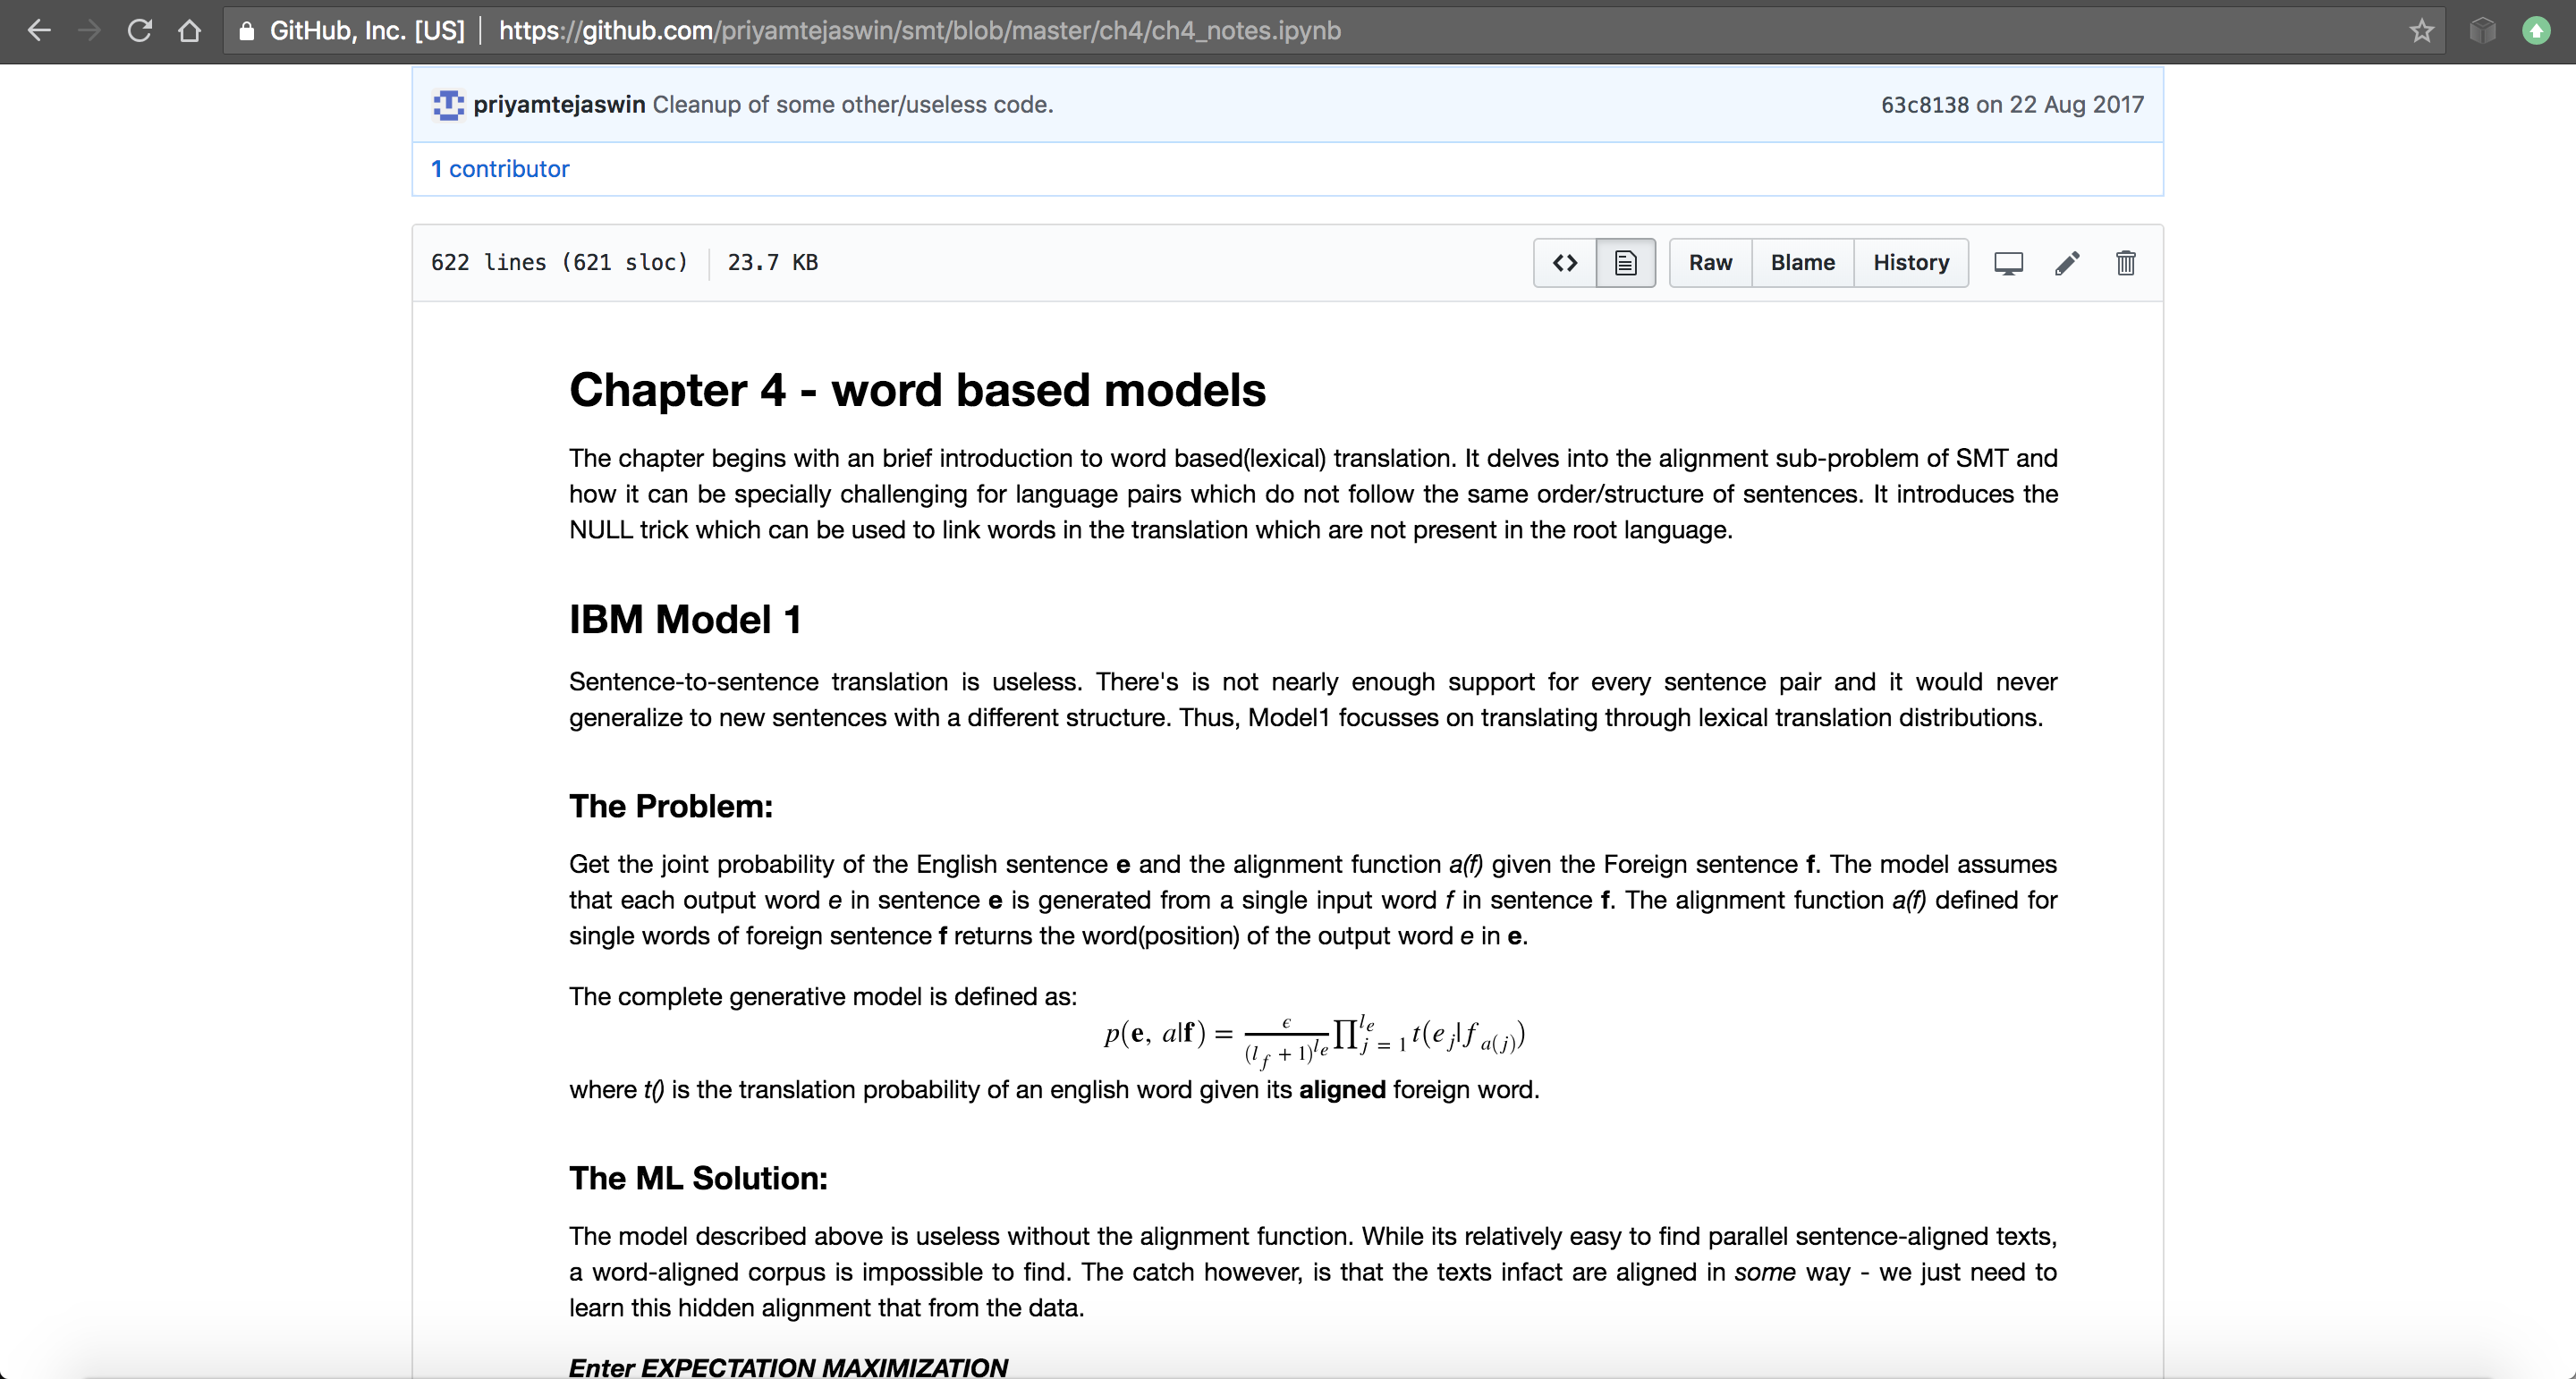
My notes from Koehn's SMT book in Jupyter notebooks.
The notebook has it’s set of issues, but it gets the job done. Using some Javascript, you could even hide all the code input cells. My only pet peeve (and yes, I am nitpicking here) was the way Github renders the content in it’s explorer. nbviewer provided a far superior viewing experience. With that, I compromised. I would finish my project, add all supporting commentary, Math, references and figures, render using nbviewer and then add this link link to the project’s README.
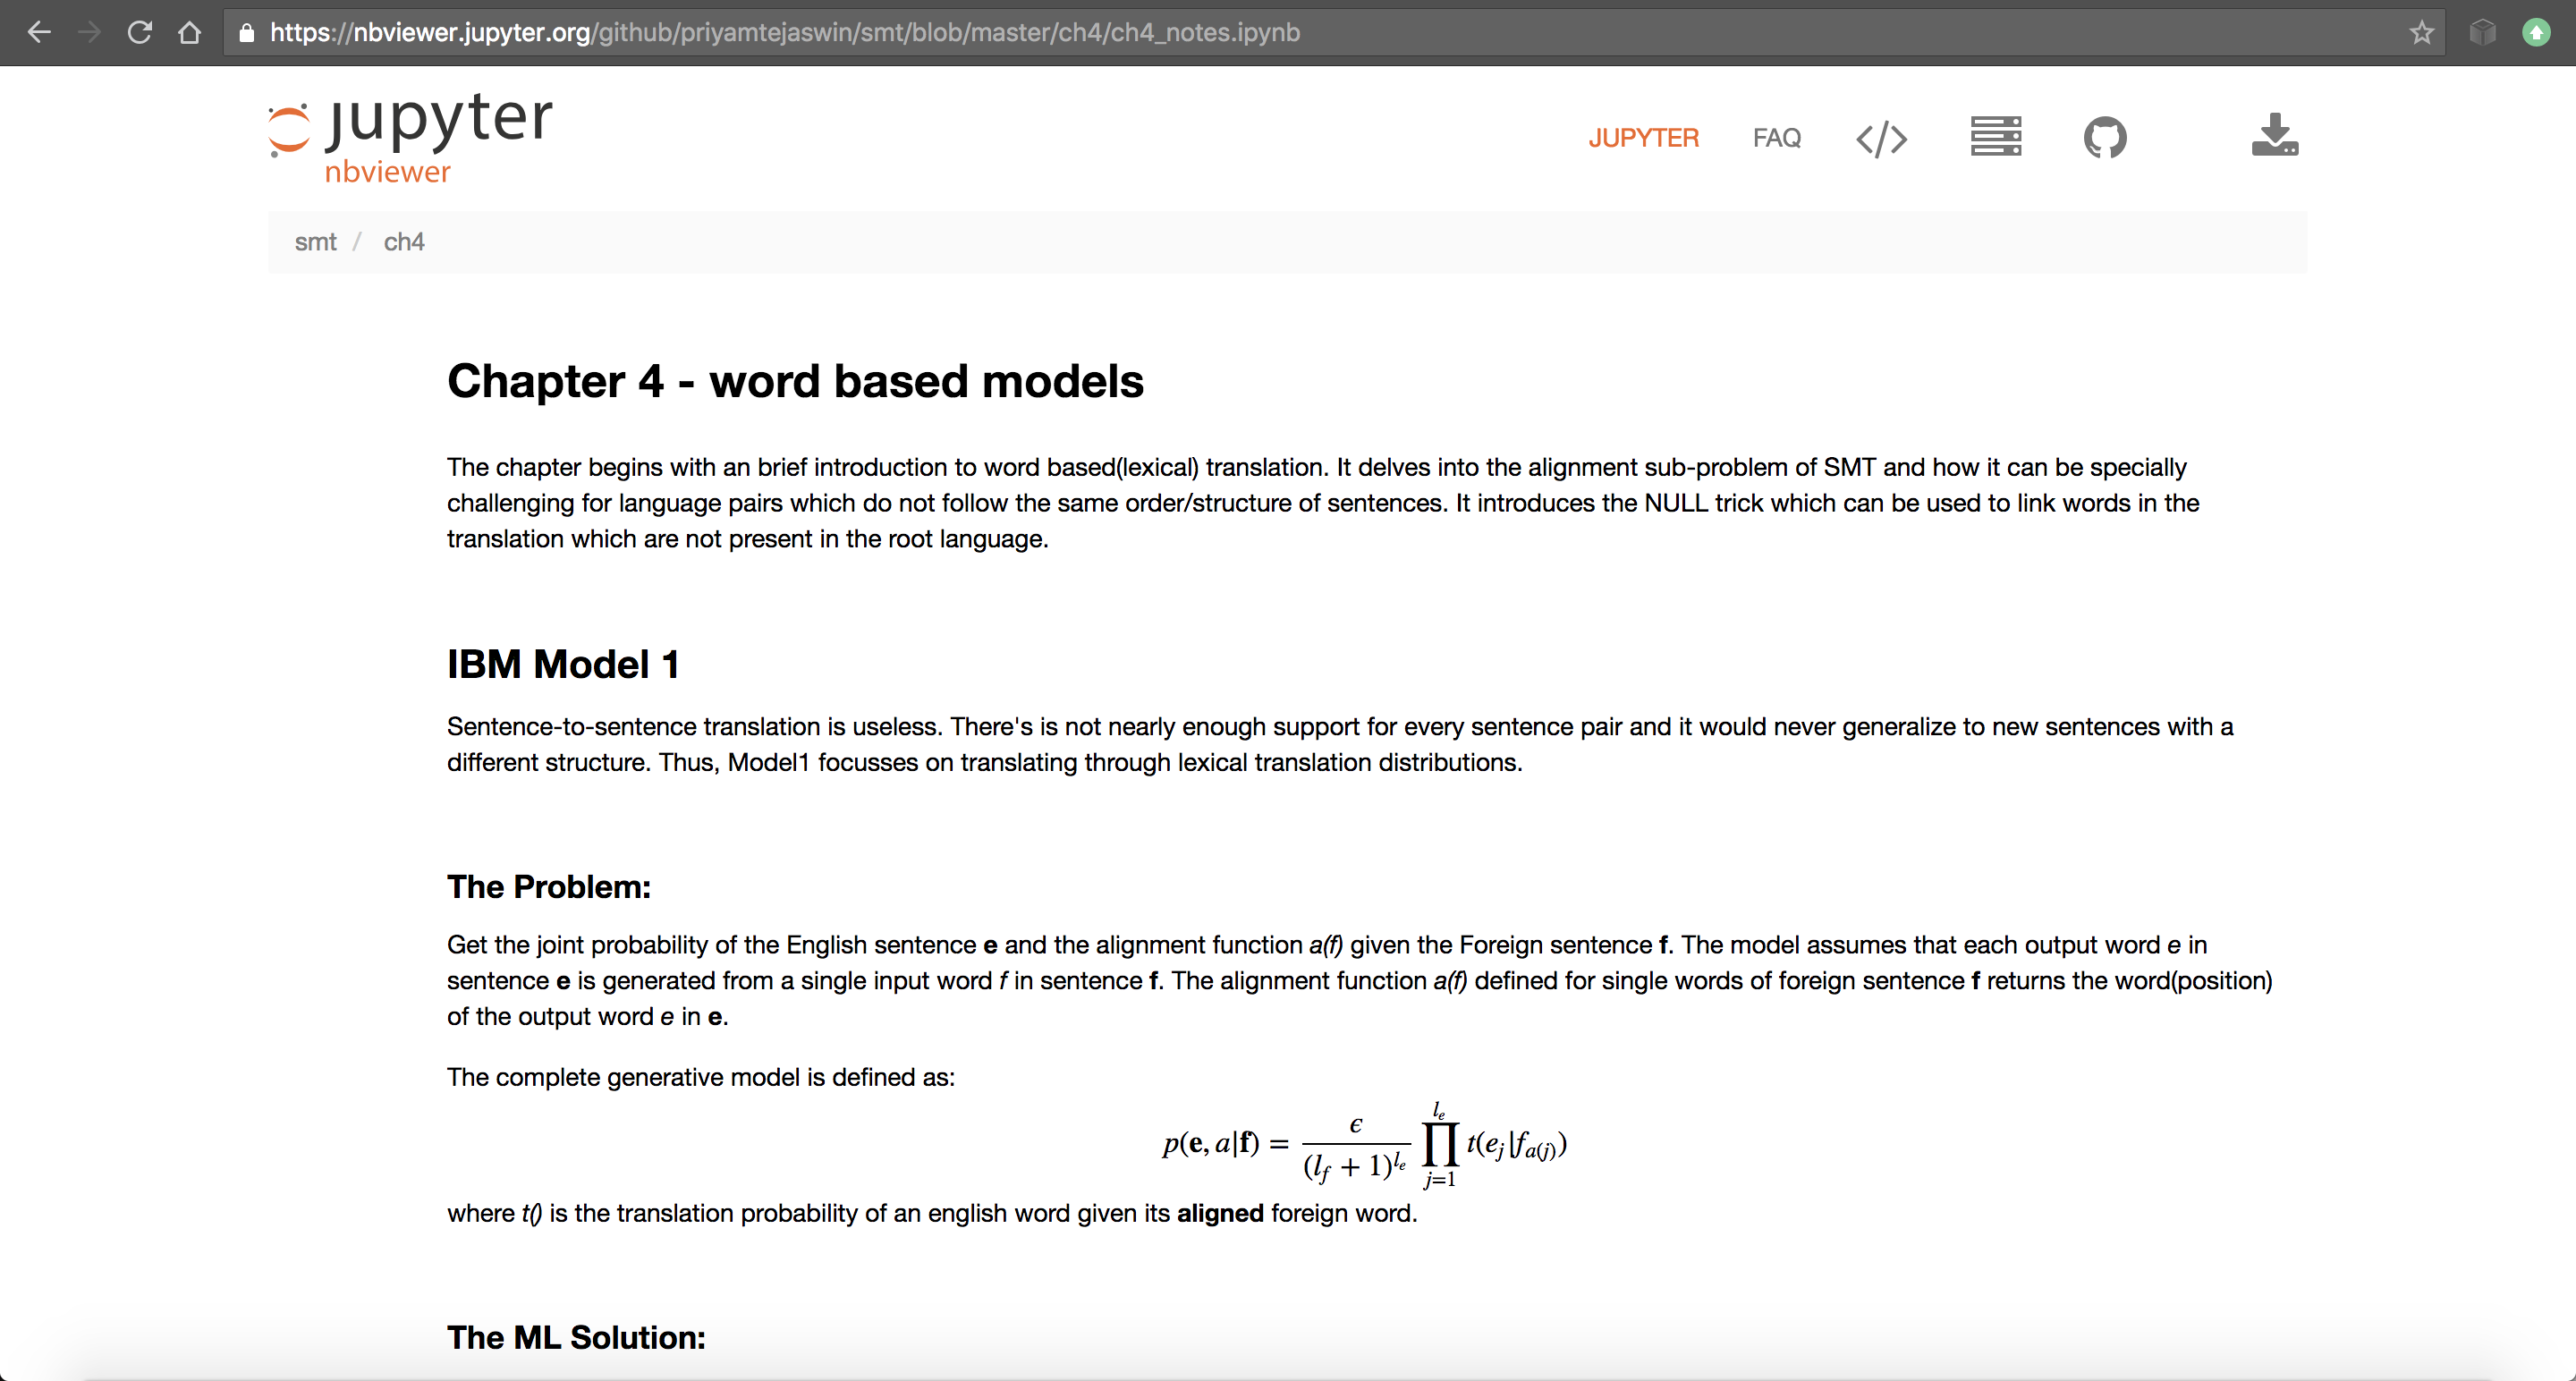
Same notes rendered in Nbviewer. Content is cleaner and wider.
Almost Rapture
While it’s great for long projects, starting (and managing) a new notebook for every idea, book or paper is slightly tedious. For a while I regressed back to bulletted lists in Google Docs. Then, I found (hackmd.io)[hackmd.io]. This has been my trusted note-taking application for the past 6 months. It’s simple, no-frills and extremely minimalistic. It has everything I wanted out of a note-taking app without all the nonsense I didn’t want.
- You get one landing page to view all your notes.
- It supports Mathjax.
- While uploading a local image, it seamlessly uploads to Imgur and then links to the Markdown note.
- Supports collaborative editing and commenting.
- You can combine multiple notes on the same topic into a book.
- It’s not clunky. Sometime last year, I tried stackedit.io, an in-browser Markdown editor with similar capabilities but with a clunkier design and interface. In retrospect, I think most of it can be attributed to the design changes they were making at the time: there were times when my files were lost completely because of some permission issues with Google Drive.
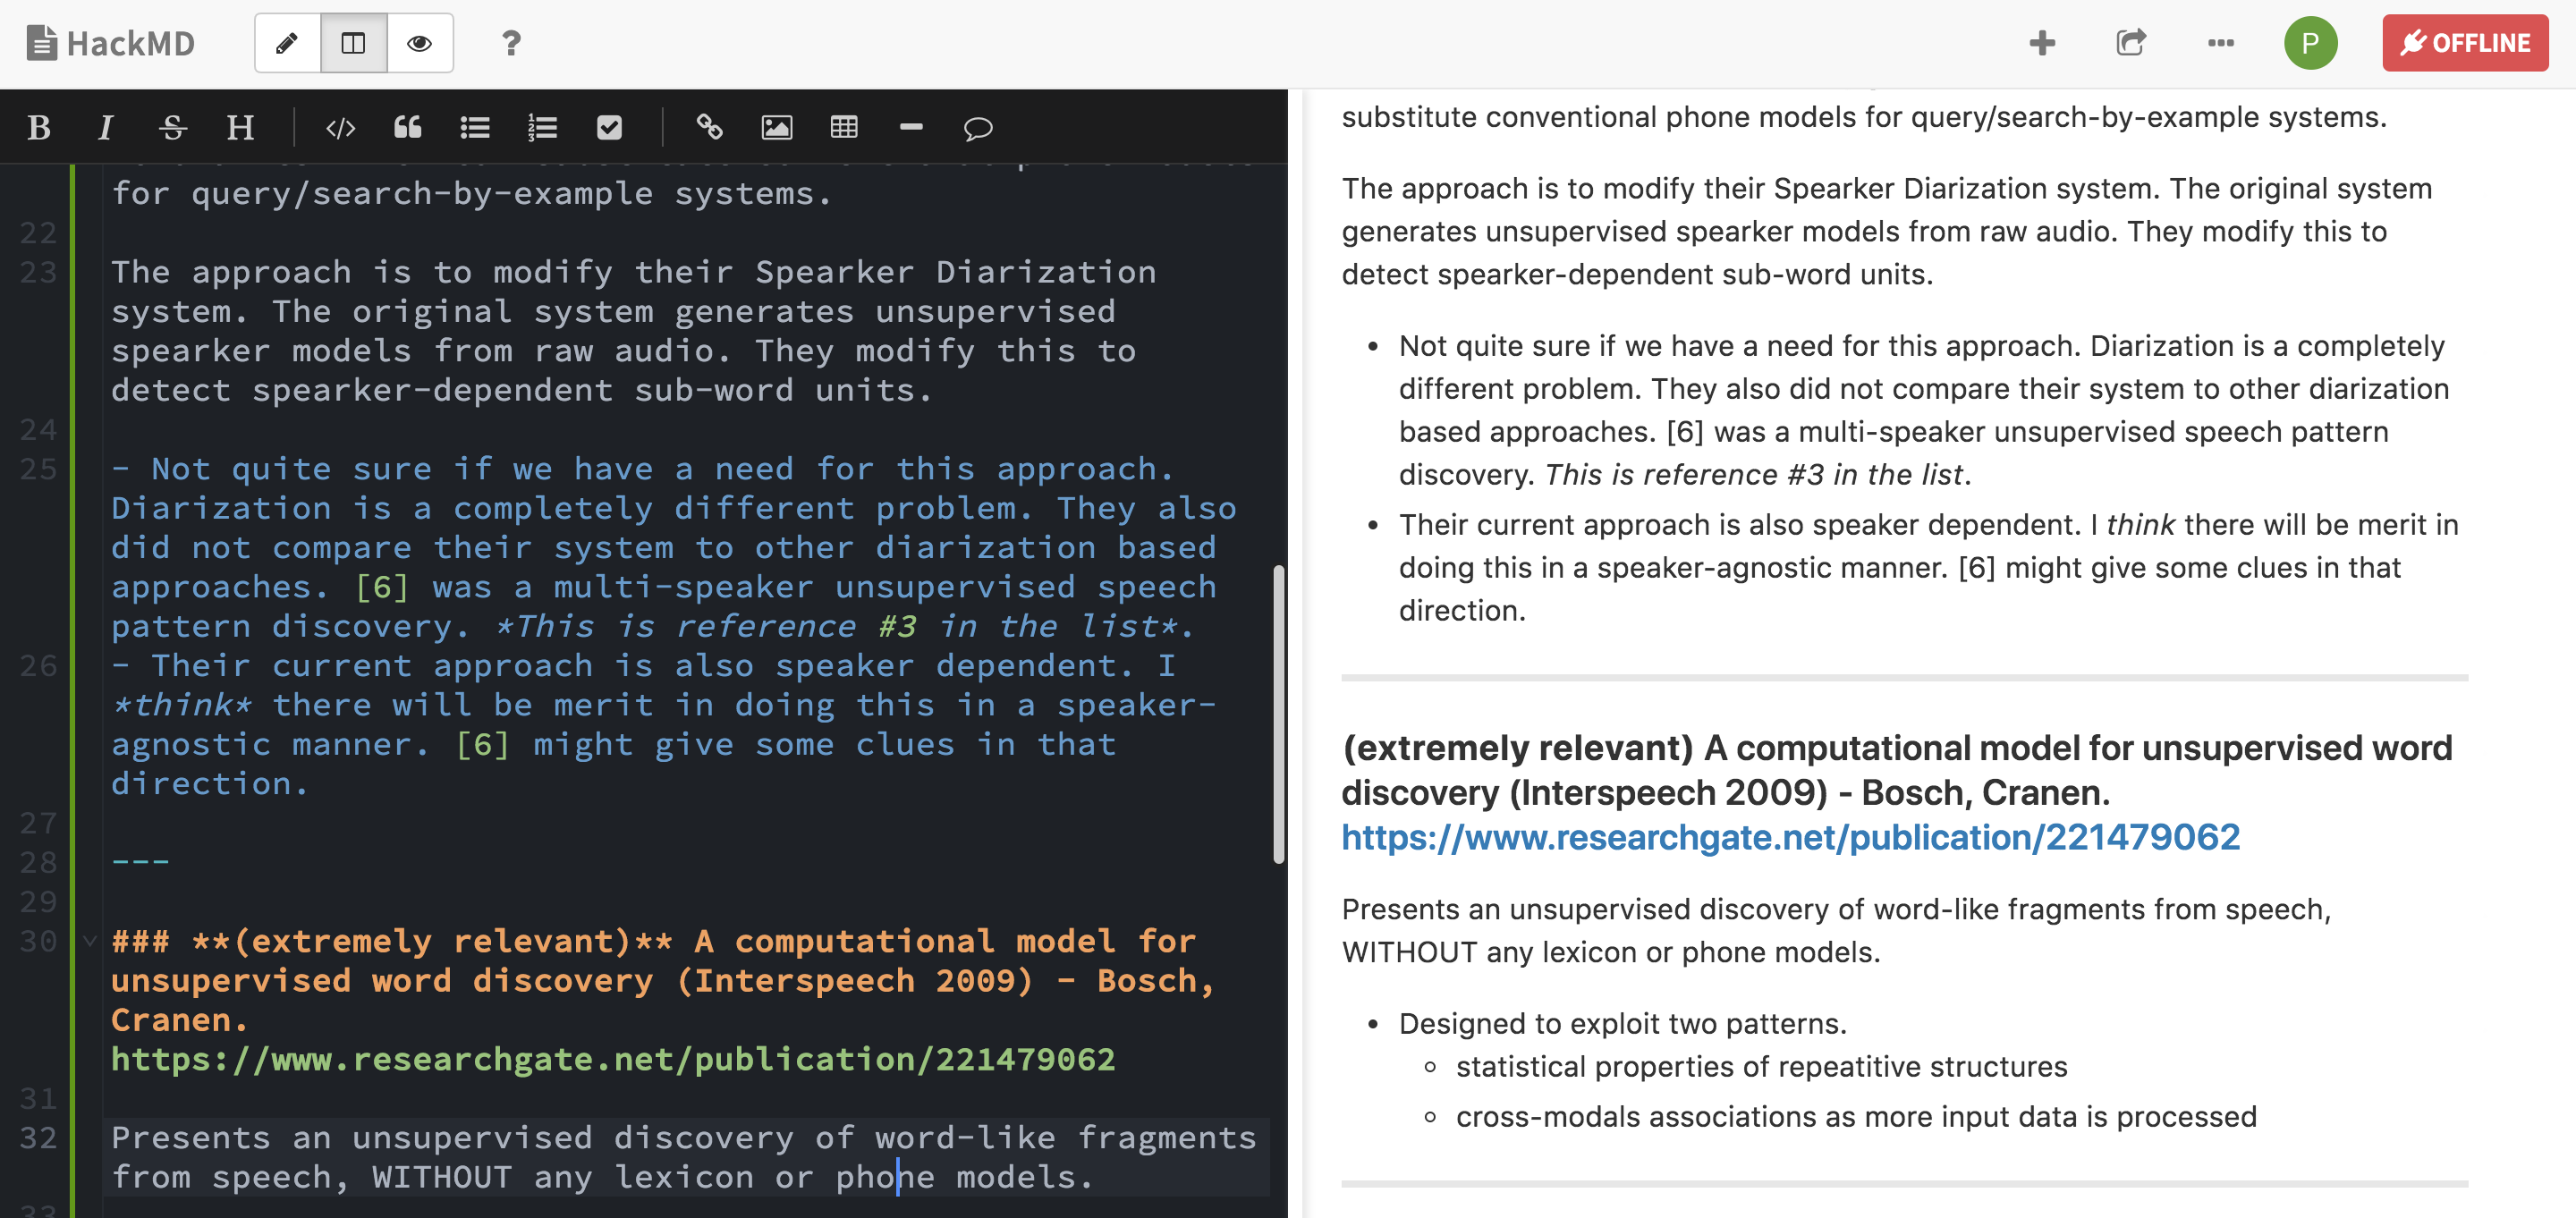
HackMD.io - write on the left, view on the right.
Regardless, HackMD is pretty much perfect for note taking.
Exodus
Now, if you just want to take notes, HackMD should be good enough. What it does not offer is any sort of external discovery - your notes are private and can only be browsed by you. You’ll have to share a link with another individual for them to read, edit or comment. Personally, I wanted to share some of this (perhaps even get an opinion on my writing), which is why I started this blog. My workflow is to write the content on HackMD or in a text editor (if I’m offline) and then post the markdown file here.
Jekyll allows me to have complete control over all aspects of the blog and also comes with some handy plugins for comments and analytics. Also, it’s extremely convinient once you have your layouts in order. The time-to-publish depends on how much you modify your theme of choice (and there are a lot of free ones to choose from). Every theme is designed to just work out-of-the-box - all you do is add the posts as markdown files with some meta information and your blog is up and running. More aesthetical modifications (like my Projects page) will require you to spend some time understanding how the templates work.
Setting up a Jekyll blog from scratch is fairly simple.
- Choose a theme and locate it on Github.
- Fork it.
- Change the forked repository’s name to
<your-user-name>.github.io. Needless to say, a repository with this name should not exist. Once the repo name is updated, Github will start running it’s magic and build your website. - Under the repository, go to settings -> Github Pages to check the status. If all went well, you should see a message along the lines of
Your site is published at https://your-user-name.github.io/.- If this doesn’t work, update some content in the
_config.ymlfile. A change in this forces a new build. - If you’re the
Your site is published...message but visting the url gives a 404 error, try creating an emptyCNAMEfile in thedocs/directory. This did the trick for me.
- If this doesn’t work, update some content in the
- Once the website is up and running, clone the repo for building the UI and editing content locally.
- Install Ruby using your package manager of choice.
- Next install Jekyll with
gem install bundler jekyll. - Once installed, you can build the project with
./script/buildwhich internally runsbundle exec jekyll build. This will download and install any extra packges which the project requires. - Finally, serve the project locally with
./script/serverwhich callsbundle exec jekyll serve. This will start a live version of the blog on your local system for development and debugging.
Happy writing!